The Ultimate House Building Checklist: From Dream to Reality
Table of Contents

The Ultimate House Building Checklist: From Dream to Reality
Building a house is one of the most significant investments you’ll ever make, both financially and emotionally. It’s a journey that transforms a vision into a tangible home, but without proper planning, it can quickly become overwhelming. Whether you’re a first-time homebuilder or a seasoned developer, having a structured checklist ensures that every step is accounted for, from securing financing to moving in. This guide breaks down the entire process into manageable phases, helping you stay organized and avoid costly mistakes. By following this ultimate house building checklist, you’ll turn your dream home into a reality with confidence and clarity.
Phase 1: Planning and Preparation
Before breaking ground, thorough planning sets the foundation for a successful build. This phase involves defining your goals, securing permits, and creating a realistic budget. Without a solid plan, even the most beautiful designs can encounter delays or budget overruns. Start by asking yourself key questions: What size and style of home do you want? Where will it be located? What’s your timeline? Answering these will shape every subsequent decision. Below is a detailed checklist to guide you through the planning and preparation phase.
Define Your Vision and Goals
- Determine your needs: How many bedrooms and bathrooms do you require? Will you need a home office, gym, or outdoor living space?
- Choose a style: Do you prefer modern, traditional, farmhouse, or another architectural style?
- Research neighborhoods: Consider location, school districts, commute times, and future development plans in the area.
- Set a timeline: When do you want to move in? Are there seasonal considerations, such as harsh winters or monsoon seasons?
Set a Realistic Budget
- Calculate total costs: Include land purchase, construction, permits, design fees, and contingency funds (typically 10-20% of the total budget).
- Secure financing: Explore construction loans, mortgages, or personal savings. Compare interest rates and terms from multiple lenders.
- Prioritize features: List must-haves versus nice-to-haves to avoid overspending on non-essential upgrades.
- Track expenses: Use budgeting tools or spreadsheets to monitor spending throughout the project.
Hire the Right Professionals
- Architect or designer: Choose someone experienced in residential projects who understands your style and local building codes.
- Builder or contractor: Look for licensed, insured professionals with a strong reputation. Ask for references and portfolios.
- Engineers and surveyors: These experts will ensure the land is suitable for construction and that the design meets structural requirements.
- Interior designer (optional): If you want a cohesive look, an interior designer can help with material selections and layouts.
Understand Legal and Regulatory Requirements
- Zoning laws: Verify that the land is zoned for residential use and complies with local regulations.
- Building permits: Research required permits for construction, electrical, plumbing, and other systems. Your builder can often handle this.
- Homeowner association (HOA) rules: If applicable, review HOA covenants to ensure your plans align with their guidelines.
- Inspections: Familiarize yourself with the inspection process to avoid surprises during construction.
Phase 2: Design and Pre-Construction
With planning complete, the next step is turning your vision into a detailed design. This phase involves collaborating with architects and engineers to create blueprints, selecting materials, and finalizing the construction timeline. Pre-construction is critical because it lays the groundwork for efficiency and cost control. Mistakes here can lead to delays or rework, so attention to detail is paramount. Below is your checklist for this crucial stage.
Develop Detailed Blueprints
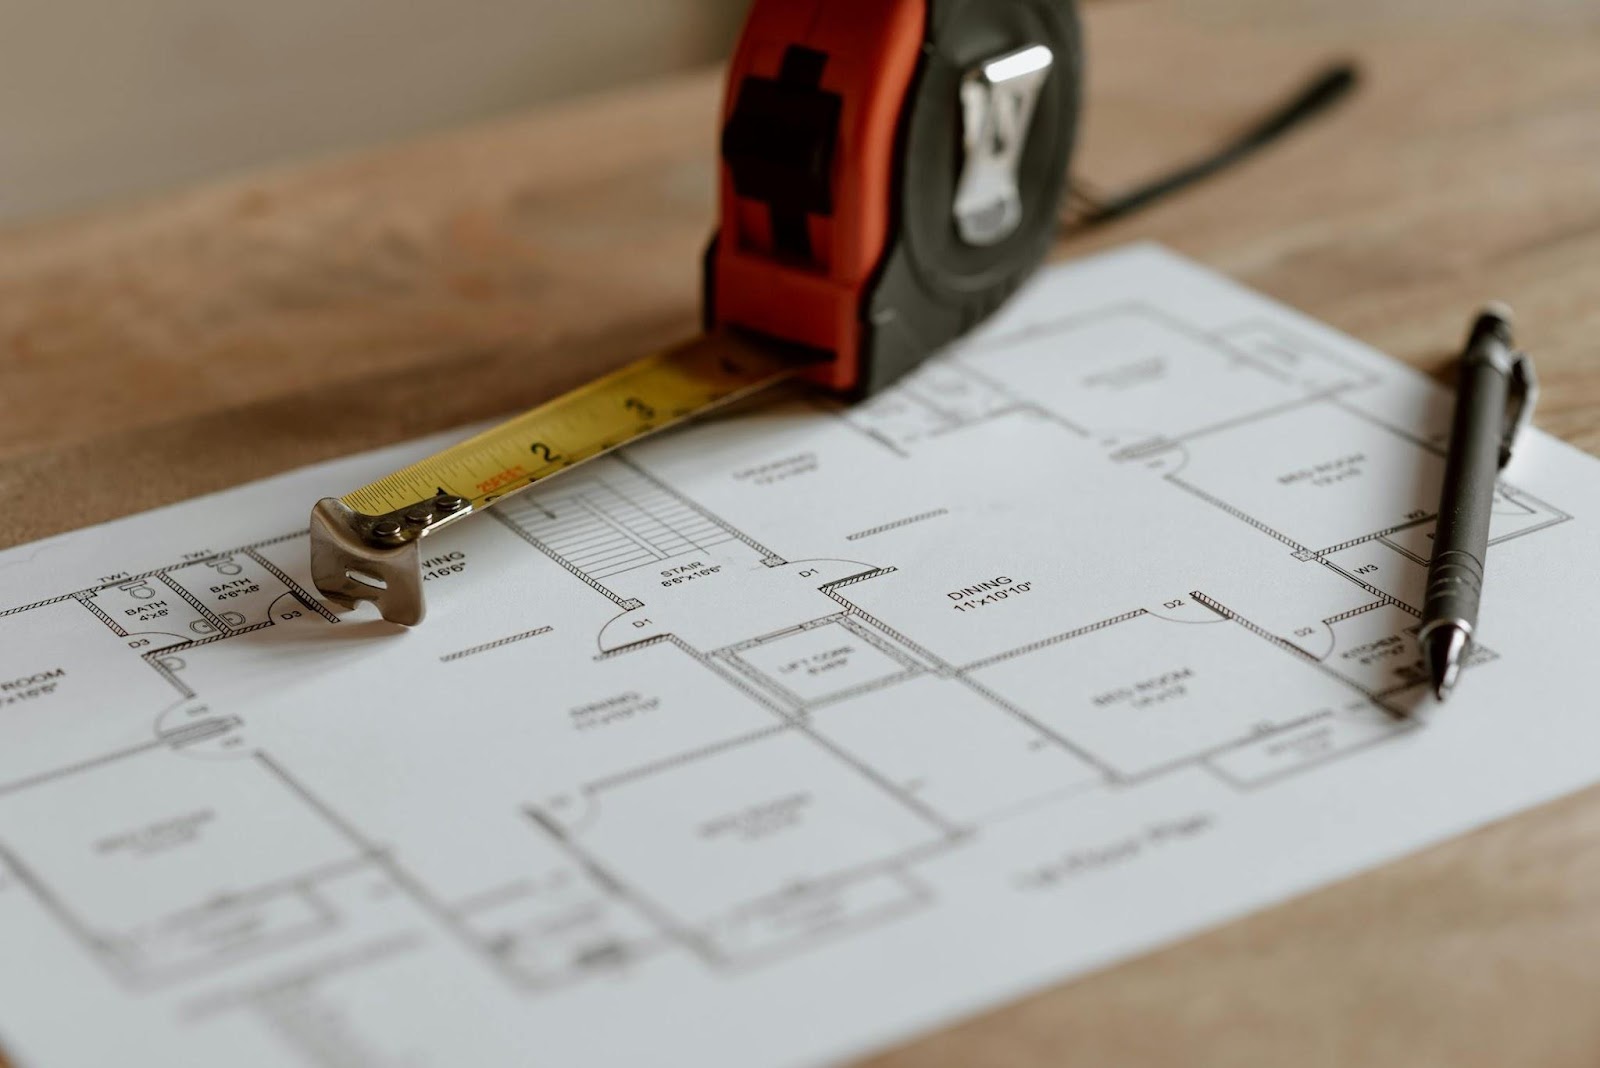
- Finalize floor plans: Work with your architect to refine the layout, ensuring it meets your functional needs and aesthetic preferences.
- Choose structural materials: Decide between wood, steel, concrete, or other materials based on durability, cost, and climate.
- Plan for utilities: Designate locations for electrical wiring, plumbing, HVAC systems, and internet connectivity.
- Incorporate energy efficiency: Consider solar panels, insulation, energy-efficient windows, and smart home technology to reduce long-term costs.
Select Materials and Finishes
- Exterior materials: Choose siding, roofing, and exterior paint colors that complement the style and withstand local weather conditions.
- Flooring: Compare options like hardwood, tile, laminate, or carpet based on durability, maintenance, and cost.
- Kitchen and bathroom fixtures: Select cabinets, countertops, faucets, and appliances that align with your budget and design theme.
- Windows and doors: Opt for energy-efficient models that provide security and enhance curb appeal.
Finalize Contracts and Insurance
- Construction contract: Ensure the contract includes a detailed scope of work, payment schedule, project timeline, and warranty information.
- Builder’s insurance: Verify that your builder has liability and workers’ compensation coverage to protect against accidents.
- Homeowner’s insurance: Purchase a policy that covers the structure and contents once construction begins.
- Warranties: Confirm what warranties are included for materials and workmanship, and keep copies of all agreements.
Secure Necessary Approvals
- Building permits: Submit your blueprints to the local building department for approval. This process can take weeks or months.
- Utility connections: Schedule hookups for water, electricity, gas, and sewage. Coordinate with local providers to avoid delays.
- Environmental clearances: If your land is near wetlands or has other environmental concerns, obtain necessary clearances before construction.
Phase 3: Construction Phase
The construction phase is where your dream starts to take physical shape. This is the most dynamic and labor-intensive part of the process, requiring close supervision and adaptability. While your builder handles the day-to-day operations, your role as the homeowner is to stay informed, ask questions, and make timely decisions. This phase can be stressful due to unexpected challenges, but with a solid plan and clear communication, you’ll navigate it smoothly. Use the checklist below to keep the project on track.
Site Preparation
- Clear the land: Remove trees, rocks, and debris. Level the ground to prepare for the foundation.
- Set up temporary facilities: Establish a construction trailer, storage units, and portable toilets for workers.
- Mark the layout: Use stakes and string lines to outline the foundation, walls, and other key elements.
Foundation Work
- Excavation: Dig trenches for the foundation according to the blueprints and local codes.
- Pour the footings: Install concrete footings to support the foundation walls.
- Waterproofing: Apply a waterproof membrane to prevent moisture damage.
- Backfilling: Fill the area around the foundation with soil once it’s cured.
Framing and Structural Work
- Frame the structure: Erect the walls, floors, and roof using the chosen materials (wood, steel, etc.).
- Install windows and doors: Secure openings in the frame according to the design.
- Sheathing: Add plywood or other materials to the exterior walls and roof for stability.
- Inspect framing: Schedule a framing inspection to ensure everything meets building codes before proceeding.
Plumbing, Electrical, and HVAC Installation
- Rough-in plumbing: Install pipes for water supply and drainage before walls are closed up.
- Electrical wiring: Run wires for outlets, switches, lighting, and appliances. Install the electrical panel.
- HVAC system: Set up ductwork, vents, and the heating/cooling unit. Ensure proper ventilation.
- Inspections: Arrange for rough-in inspections to verify that all systems comply with codes.
Insulation and Drywall
- Insulate walls and attic: Use materials like fiberglass, spray foam, or cellulose to improve energy efficiency.
- Hang drywall: Install drywall sheets on interior walls and ceilings. Tape, mud, and sand for a smooth finish.
- Prime and paint: Apply primer to seal the drywall, then paint walls and ceilings with your chosen colors.
Interior and Exterior Finishes
- Flooring: Install hardwood, tile, carpet, or other flooring materials.
- Trim and molding: Add baseboards, crown molding, and door casings for a polished look.
- Cabinetry and countertops: Install kitchen and bathroom cabinets, followed by countertops.
- Exterior finishes: Apply siding, brick, stucco, or other materials to the exterior walls.
Phase 4: Final Touches and Inspections
As construction nears completion, the focus shifts to final touches, inspections, and preparing for move-in. This phase is exciting but can also feel rushed, as you’re eager to see the finished product. However, skipping steps here can lead to costly repairs or safety hazards. Thorough inspections ensure that everything is up to code and functions properly. Use this checklist to wrap up the project smoothly and transition into your new home with confidence.
Final Inspections
- Building inspection: Schedule a final inspection to verify that the home meets all local building codes and regulations.
- Utility inspections: Ensure that the electrical, plumbing, and HVAC systems pass final inspections before activation.
- Fire safety inspection: Confirm that smoke detectors, fire extinguishers, and emergency exits meet safety standards.
- Certificate of Occupancy (CO): Obtain this document from the local government, certifying that the home is safe to live in.
Landscaping and Exterior Work
- Grading: Ensure the yard is properly graded to direct water away from the foundation.
- Driveway and walkways: Install paving, gravel, or other surfaces for driveways and pathways.
- Planting: Add trees, shrubs, and grass to enhance curb appeal and create an inviting outdoor space.
- Outdoor lighting: Install landscape lighting for safety and aesthetics.
Final Cleanup and Punch List
- Deep cleaning: Schedule a professional cleaning service or conduct a thorough walkthrough to remove dust and debris.
- Punch list: Create a list of any minor repairs or touch-ups needed (e.g., nail pops, paint touch-ups, loose fixtures).
- Builder walkthrough: Conduct a final walkthrough with your builder to address any outstanding items.
- Warranty information: Collect warranties for materials and appliances, and store them in a safe place.
Move-In Preparation
- Change locks: For security, rekey or replace all exterior locks.
- Set up utilities: Transfer or activate water, electricity, gas, internet, and other services.
- Plan the move: Schedule movers or rent a truck, and organize your belongings for an efficient transition.
- Welcome home: Celebrate your achievement and enjoy the space you’ve created!
Tips for a Smooth Building Process
Even with a detailed checklist, unexpected challenges can arise. Staying flexible and proactive will help you overcome obstacles without derailing the project. Below are some practical tips to keep your house-building journey on track and stress-free.
- Communicate regularly: Maintain open lines of communication with your builder, architect, and contractors. Weekly meetings or progress reports can prevent misunderstandings.
- Visit the site often: While you don’t need to be on-site daily, regular visits allow you to monitor progress and catch issues early.
- Be decisive: Delays often occur when homeowners take too long to make decisions. Respond promptly to choices about materials or design changes.
- Prepare for delays: Weather, material shortages, and permit issues can cause setbacks. Build buffer time into your schedule and budget.
- Document everything: Keep records of contracts, receipts, change orders, and communications. This protects you in case of disputes.
- Prioritize quality over speed: Cutting corners to save time or money can lead to costly repairs later. Invest in durable materials and skilled labor.
- Stay organized: Use project management tools or apps to track deadlines, payments, and inspections. A spreadsheet or dedicated notebook can also work.
Common Mistakes to Avoid
Many homeowners learn valuable lessons the hard way—through mistakes that could have been avoided with better planning. By being aware of these common pitfalls, you can steer your project toward success and avoid unnecessary stress or expenses.
- Skipping the contingency fund: Unexpected costs are inevitable. Always set aside 10-20% of your budget for surprises.
- Choosing the cheapest bid: While budget is important, selecting the lowest bidder without vetting their reputation can lead to poor quality or delays.
- Ignoring energy efficiency: Cutting corners on insulation or windows may save money upfront but increase utility bills long-term.
- Over-customizing for resale: While personalization is great, avoid trends that might not appeal to future buyers if resale value is a priority.
- Underestimating time: Construction rarely goes exactly as planned. Build in extra time for weather, inspections, and material deliveries.
- Neglecting soil testing: Soil conditions affect the foundation’s stability. Always conduct a soil test before designing the foundation.
Conclusion: Your Dream Home Awaits
Building a house is a monumental achievement that requires vision, patience, and meticulous planning. By following this ultimate checklist, you’ve equipped yourself with the knowledge and tools to navigate each phase of the process with confidence. From defining your goals and setting a budget to overseeing construction and conducting final inspections, every step brings you closer to the home of your dreams. Remember, the journey may have its challenges, but the reward—a space uniquely yours—is well worth the effort.
As you embark on this exciting adventure, keep your priorities in clear view, stay organized, and don’t hesitate to seek professional guidance when needed. Your dream home isn’t just a future destination; it’s a reflection of your lifestyle, values, and aspirations. With careful planning and perseverance, you’ll soon be celebrating not just the completion of a house, but the creation of a home filled with warmth, memories, and endless possibilities.